


Reviewed by: The Health for Life Kitchen Team, home cooks who test every recipe before it’s published
Table of Contents
- Why I Started Making My Own Stock
- What You Actually Need
- The Simple Method, Step by Step
- Stock vs Broth (And Why It Matters)
- Common Beginner Mistakes
- How to Store It the Right Way
- Why Homemade Stock Fits a Health for Life Approach
- FAQs
- Conclusion
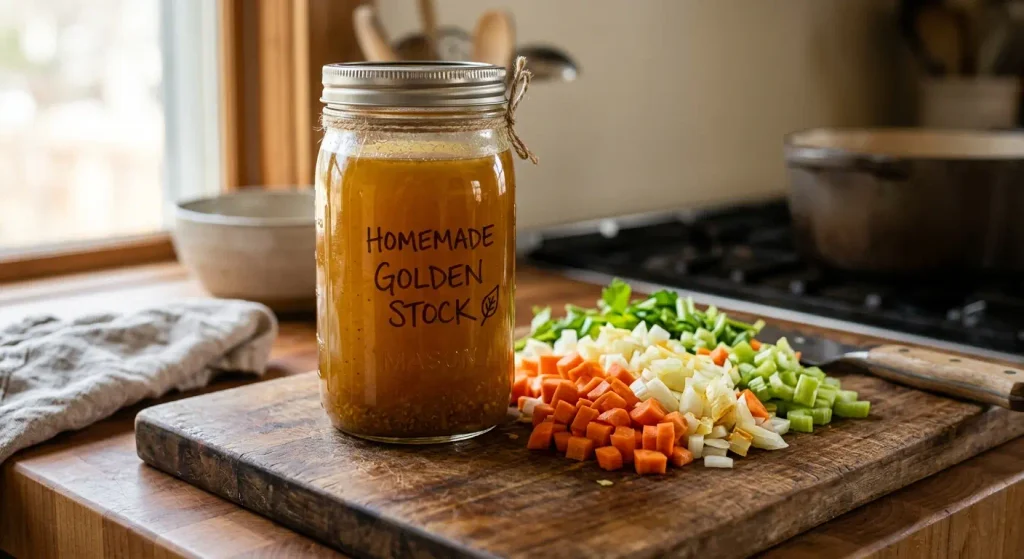
How to make soup stock starts with saving vegetable scraps and bones instead of tossing them, then simmering them slowly in water with onion, carrot, celery, and a few herbs. That one habit changed how I cook soup, and it barely takes any hands-on effort once you know the routine.
Why I Started Making My Own Stock
I used to grab the same carton of broth every week without thinking twice about it. Then one night I ran out mid-recipe and had nothing but a bag of onion skins, carrot ends, and a leftover rotisserie chicken carcass in the fridge. Out of pure necessity, I tossed it all in a pot with water and let it simmer while I finished the rest of dinner.
The soup that night tasted better than anything I’d made with store-bought broth in months. That was the moment stock stopped feeling like a chore and started feeling like a free upgrade I’d been skipping for years.
Key takeaway: Soup stock is really just a way of turning kitchen scraps you’d normally throw away into a flavor base that makes every soup, sauce, and grain dish taste noticeably better.
What You Actually Need
You don’t need anything fancy. Here’s the short list:
- A large stockpot (8 quarts works well for most households)
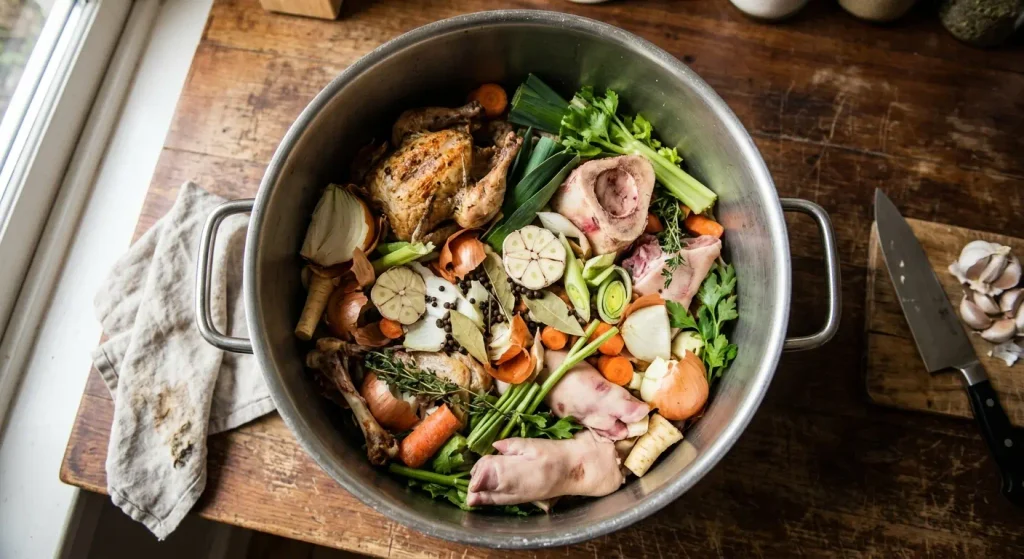
- Vegetable scraps: onion peels, carrot ends, celery tops, mushroom stems
- Or bones: chicken carcass, beef bones, or a mix
- Cold water, enough to cover everything by an inch or two
- A few whole herbs and spices: bay leaf, peppercorns, parsley stems, maybe a garlic clove
Skip the salt at this stage. You’ll season the actual soup later, and an unsalted stock gives you more control over the final dish.
The Simple Method, Step by Step
- Collect your scraps. Keep a bag in the freezer for onion ends, carrot peels, celery leaves, and bones. Fill it over a week or two before you make a batch.
- Fill the pot. Add your scraps or bones, then cover with cold water by about 2 inches.
- Bring to a gentle boil, then immediately drop the heat to a low simmer. A hard boil clouds the stock and can make it taste bitter.
- Skim the foam. In the first 20 minutes, foam rises to the top. Spoon it off for a cleaner, clearer stock.
- Simmer low and slow. Vegetable stock needs about 45 minutes to an hour. Bone-based stock benefits from 3 to 4 hours for chicken, or 6 to 8 hours for beef.
- Strain it. Pour through a fine mesh strainer or cheesecloth into a large bowl. Discard the solids.
- Cool, then store. Let it cool before refrigerating or freezing.
That’s genuinely the whole process. The waiting is the only hard part, and even that mostly happens while you’re doing something else.
Stock vs Broth (And Why It Matters)
People use these words interchangeably, but there’s a real difference. Stock is built on bones, which release collagen and give the liquid body and a slightly gelatinous texture once chilled. Broth leans on meat and vegetables, giving a lighter, thinner result with more direct meaty flavor.
If you want a soup base with richness and mouthfeel, go with stock. If you want something lighter for sipping or for delicate soups, broth does the job better.
Common Beginner Mistakes
- Boiling too hard. This clouds the liquid and pulls bitter flavors from vegetable skins.
- Adding salt too early. You lose control over the final seasoning once it’s simmered into a concentrated base.
- Using bitter vegetables. Skip broccoli, cabbage, and bell peppers. They turn the stock sulfurous and overpowering.
- Rushing the simmer. Bone stock needs real time to pull out collagen and flavor. Cutting the hours short leaves you with flavored water instead of stock.
- Skipping the skim. That foam isn’t dangerous, but leaving it in muddies both the flavor and the color.
How to Store It the Right Way
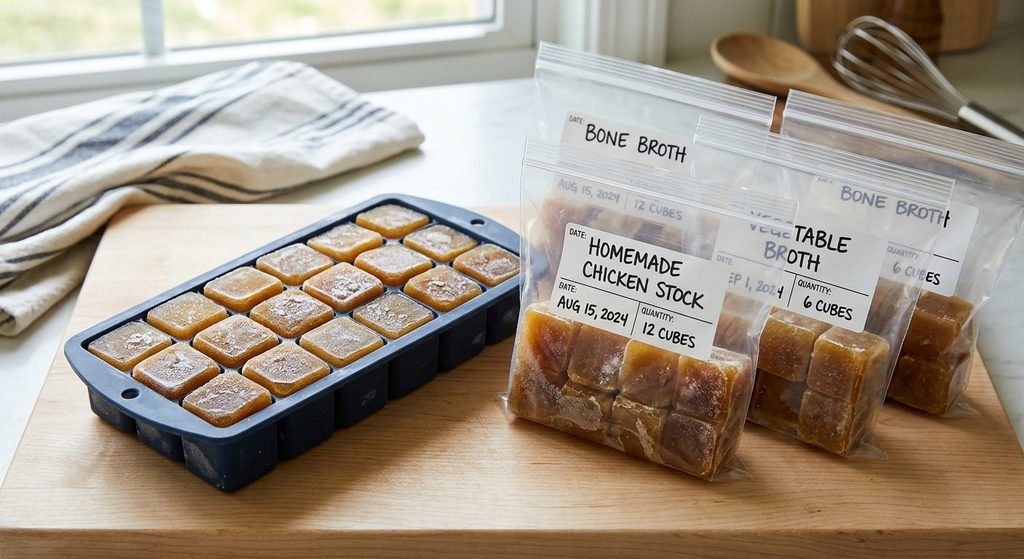
Homemade stock keeps in the refrigerator for 3 to 4 days. For longer storage, freeze it in quart containers or ice cube trays for smaller portions you can drop straight into a pan. Leave an inch of headspace in any container since liquid expands as it freezes.
According to the National Center for Home Food Preservation, stock and broth can be used interchangeably in most pressure canning recipes as long as any concentrate is fully dissolved before use, which is worth knowing if you plan to can your batches instead of freezing them.
Why Homemade Stock Fits a Health for Life Approach
Part of choosing health for life is paying attention to what actually goes into your food, and stock is one of the easiest places to start. Store-bought versions are often loaded with sodium and preservatives you don’t need. When you make it yourself, you control the salt, skip the additives, and get to use ingredients you already have on hand instead of throwing them out.
On www.healthforlifee.com, we’ve leaned on this exact stock for everything from weeknight vegetable soup to a slow Sunday chicken noodle batch, and the difference in flavor and how full it makes a simple soup feel is hard to overstate.
FAQs
What’s the difference between stock and broth? Stock is made from bones and gains body from collagen, while broth is made mostly from meat and vegetables and stays lighter in texture.
How long should you simmer soup stock? Vegetable stock needs 45 minutes to an hour. Chicken stock needs 3 to 4 hours, and beef stock needs 6 to 8 hours to fully extract flavor and collagen.
Can you freeze soup stock? Yes. Freeze it in quart containers for soups or ice cube trays for smaller portions, and use it within 4 to 6 months for the best flavor.
What vegetables should you avoid in stock? Skip broccoli, cabbage, and bell peppers since they turn bitter and sulfurous when simmered for a long time.
Is homemade stock actually healthier than store-bought? It can be, mainly because you control the sodium and skip preservatives, though the overall nutrition depends on the ingredients you use.
Conclusion
Making your own soup stock isn’t complicated, and it doesn’t need special equipment or rare ingredients. It just needs scraps you were probably going to throw away anyway, a pot, and a little patience while it simmers. Once you taste the difference in your next bowl of soup, going back to the carton gets a lot harder.
Try this the next time you cook a chicken or chop vegetables for dinner. Save the scraps, and by the weekend you’ll have a pot of stock ready to make your next soup taste like it came from a restaurant kitchen instead of a can.
This article is for general cooking and food storage information only and is not a substitute for professional food safety or medical advice. Always follow current USDA and local health guidelines for storing and preserving homemade stock.